Sketch Prescription Icon Set
A Designer’s First Look: Clean, Sketchy, and Quietly Confident
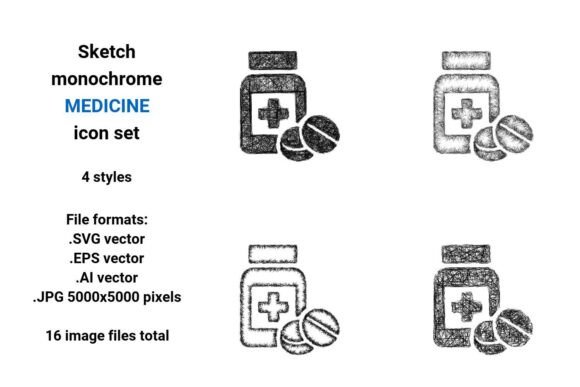
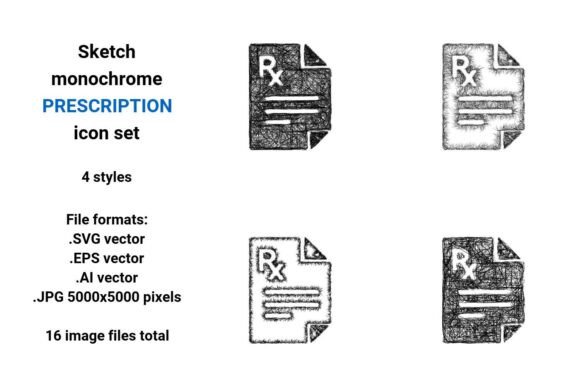
When I opened the Sketch Prescription Icon Set, my first thought wasn’t “medical” — it was “hand-drawn calm.” These aren’t sterile clipart icons. They’re loose, confident line sketches in black and white: a pill bottle, a prescription pad, a mortar and pestle, a stethoscope — all rendered with subtle weight shifts, intentional imperfections, and breathing space. That sketch quality is their strength — and their embroidery caveat. They feel human, approachable, and artisanal — perfect for a boutique apothecary tote bag, a nurse’s embroidered sweatshirt, or a baby’s soft cotton onesie with “Future Pharmacist” stitched beside a tiny pill icon.
Why This Set Fits Real Embroidery Projects (and Where It Shines)
I tested one icon — the prescription pad — on a medium-weight organic cotton tote. With proper tear-away stabilizer and 40-weight rayon thread, the lines translated beautifully: crisp but not rigid, legible at 2.5 inches wide, and quietly professional. The Sketch Prescription Icon Set works best when you want warmth over clinical precision — think handmade pharmacy gifts, wellness studio merch, or personalized graduation presents for med students. It’s ideal for custom apparel, embroidered patch backings, kitchen towel accents, and nursery decor where softness matters more than pixel-perfect symmetry.
For Etsy sellers and small shop owners, this set adds instant thematic cohesion. Pair the stethoscope icon with hand-lettered text on a linen apron for a holistic clinic gift set. Use the mortar and pestle on a tea towel for a herbalist’s holiday bundle. Because all 16 files are vector-based (.SVG, .EPS, .AI) plus high-res .JPG, you can scale cleanly for both small hoop patches (1.75”) and larger sweatshirt chest placements — no jagged edges, no blurry fills.
Where to Proceed With Care (Not Caution)
This isn’t a “throw-it-on-and-stitch” design. Its sketchy nature means fine-line details — like the crosshatch on the prescription pad or the subtle curve of the stethoscope earpieces — need thoughtful translation into stitch. On stretchy fabric or thin fabric, those delicate strokes can blur without firm cut-away stabilizer. On dark fabric, avoid relying solely on white thread — test contrast first. And on curved surfaces like caps? Stick to the simplest icon (the pill bottle) and keep it under 2 inches wide — the sketch lines lose definition when forced to wrap tightly.
Also note: the set includes no built-in applique design layers or satin-stitched borders. If you’re planning a dense fill stitch version of the mortar and pestle, check your digitizer’s interpretation — some auto-digitizing tools overcomplicate sketch lines. Better to use it as-is with clean running stitch outlines or light fill density for breathable texture.
What Customers Actually Notice (and Why It Matters)
People don’t see “vector file” — they see whether your handmade product feels intentional. The Sketch Prescription Icon Set elevates perceived value because it looks *designed*, not downloaded. A customer buying a custom embroidered pillow cover with the prescription pad icon doesn’t just get a medical symbol — they get quiet storytelling. That builds customer trust and brand consistency, especially for wellness brands, indie pharmacies, or nursing schools launching merchandise.
It also boosts giftability. A holiday embroidery project using the stethoscope icon on a cozy blanket reads as personal and heartfelt — not generic. For personalized gifts, pairing one icon with a name or date (in a simple sans-serif) creates balance: the sketch icon brings character; the clean text grounds it. No shouting. Just sincerity.
Practical Embroidery Designer Notes (From My Hoop to Yours)
- Always test on scrap fabric first — especially with textured weaves like linen or terry cloth. Sketch lines catch differently on naps and slubs.
- Check thread color contrast before stitching on dark or heathered fabrics. Black-on-charcoal reads softer than black-on-cream — adjust density if needed.
- Review stitch density in your embroidery software. These icons work best with moderate fill (65–75% density) to preserve their airy feel — avoid heavy satin-stitched versions unless you’re reworking them intentionally.
- Confirm hoop size early. The largest icon comfortably fits a 4x4 hoop at full detail. Going bigger risks thinning out the sketch weight.
- Inspect small details in your digitizing preview: tiny loops, connecting strokes, and open ends. Some may need manual cleanup for smooth stitch transitions.
- Test in black and white mockups — not just color. These icons rely on value contrast, not hue.
- Use proper stabilizer: medium-weight cut-away for knits, tear-away for stable wovens, and optional topping for fuzzy fabrics like fleece.
- Verify licensing before selling finished items or bundling the files as digital embroidery file assets. The product description confirms commercial use is included, but always double-check scope — especially for resale as standalone design assets.
Final Thought: Not Just Icons — Quiet Design Confidence
The Sketch Prescription Icon Set won’t shout from a crowded craft fair table. But it will hold attention. It’s the kind of Icons set that makes a handmade apron feel like a curated object, not a printed afterthought. It supports — never overshadows — the story behind your craft business. Whether you’re stitching a single personalized gift or building a full line of small shop product, these icons give you visual shorthand with soul. They’re ready for real embroidery — if you meet them halfway with intention, testing, and respect for how line, fabric, and stitch interact. That’s not just practical. That’s professional.